In this project the task was to sake certain pictures and correct their imperfections.
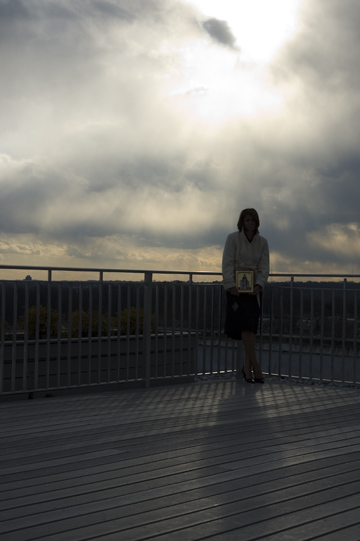
This is the before ...
and this is the after ...
In order to fix this I went to curves and played with the lighting until I found the right amount of lighting. The problem with the picture was that it was under exposed but now you can clearly see the girl.
This is the before ...
The picture is overexposed and their are some undesired freckles.
I used curves to give it the right amount of exposure and I used the clone tool to take away some of her freckles.
This is the before ...
This picture is over exposed in most places and is mis colored
This is the after ...
I used the burn tool to darken some places up and then I used the clone tool to make the colors blend. I also went to curves to make it a little darker.
This is the before ...
This picture is very old and has spots all over it.
I used the clone tool to get rid of the spots and restore it to its original form. I also used the smudge tool to get rid of little dots or splotchy parts.